And we’re back! If you recall from my last entry, I was having some difficulty getting past the third mission in the game, wherein the Atlas was fighting off waves of fighters and bombers, followed by a couple of frigates. Thanks to some hints from the game’s creator, once the frigates showed, I hacked the heck out of them, revealed their weak spots and eventually brought them down, saving the Atlas. Whew. Keep readin’ on to find out what happened next!
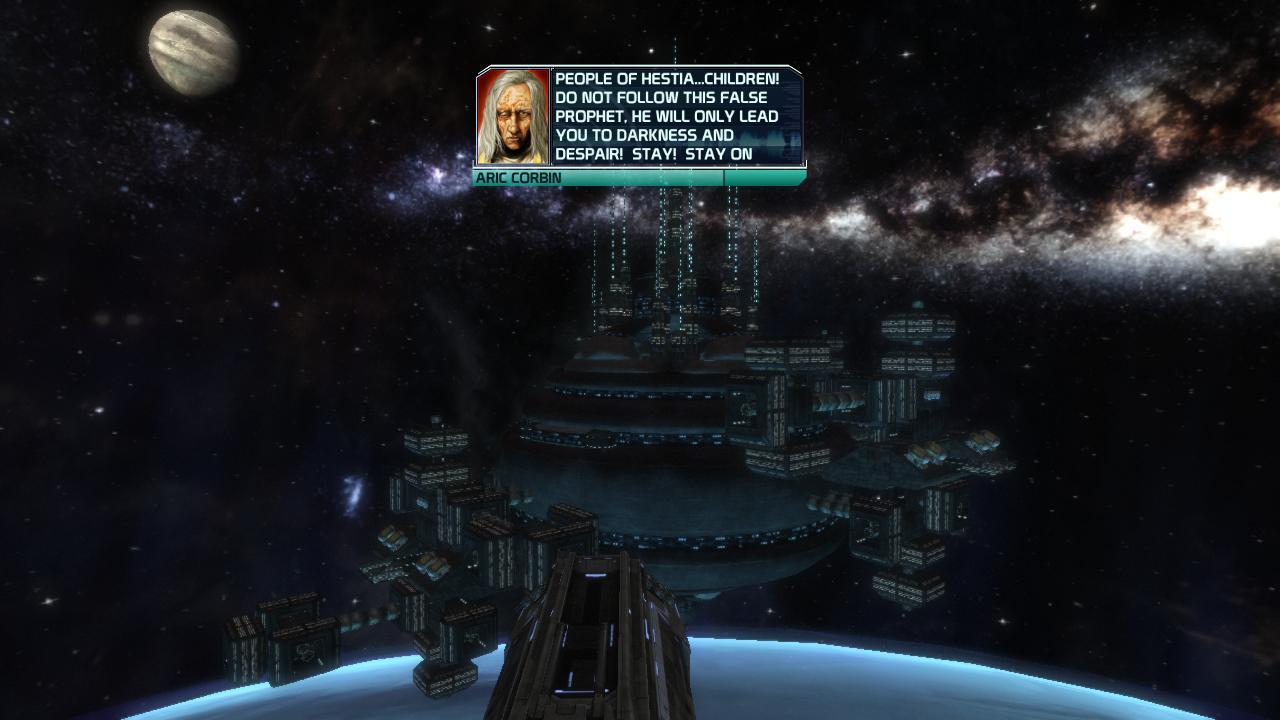
At the end of the last mission, we received a distress signal from the Hestia outpost orbiting Neptune, so of course we headed right over. Being the hero and such is a busy, busy job. As we arrived, that Corbin asshat — leader of the COD (giggle) — was preaching to the folks at the Hestia station to keep the faith, as it were. Man this guy loves to hear himself talk.
When I arrived, there was quite a COD (giggle…okay, I’ll stop, but it’s funny!) presence, so I was preparing for a fight when all of a sudden…they rabbited out…
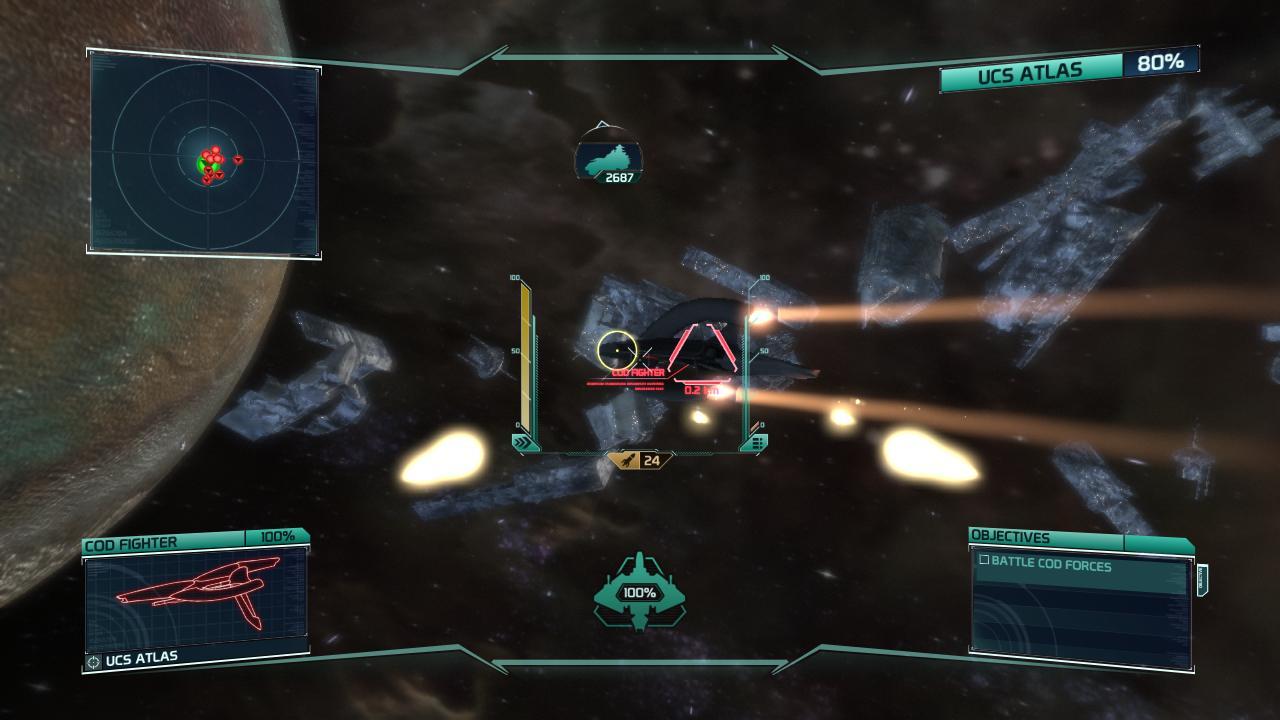
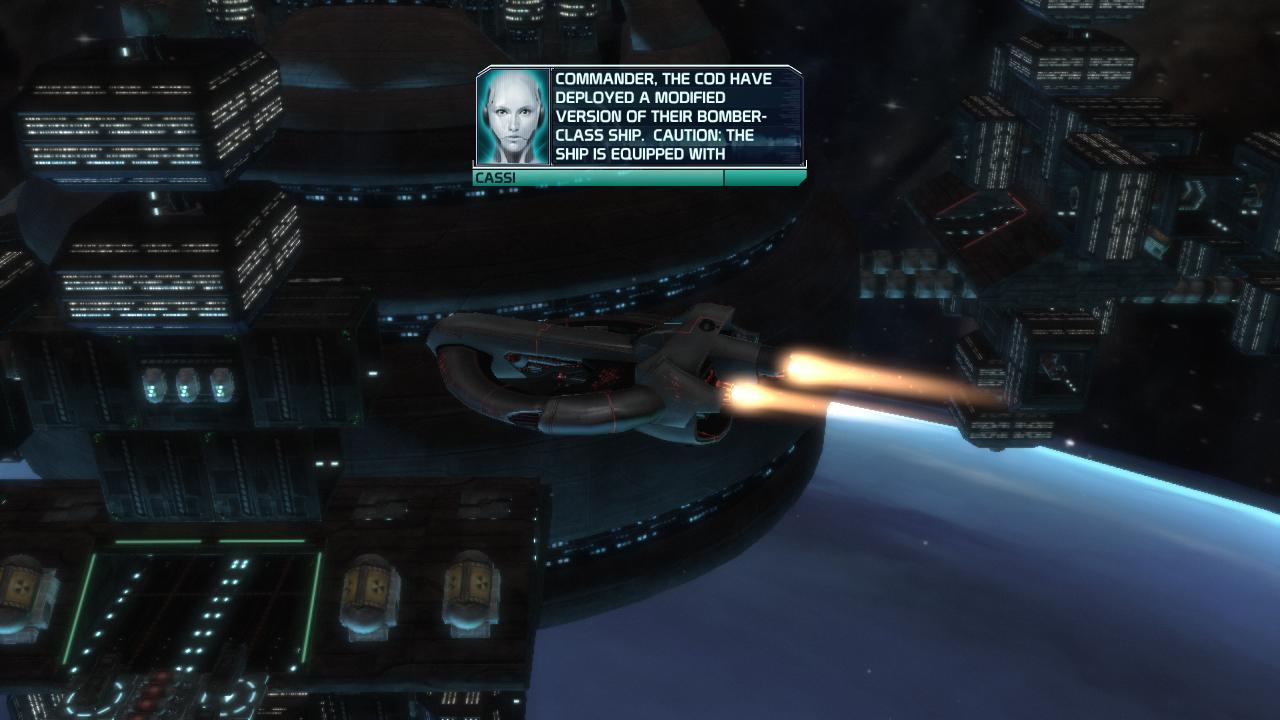
WTF? I mean, there WERE a lot of ’em, but that was something of a relief, if confusing. This left us aimlessly flying around while CASSI tried to connect to someone on the station. Eventually, we saw why the fighters bugged out, because a moment or two later, a new type of COD bomber showed up, which according to CASSI had anti-fighter turrets and shields. She called ’em gunships — in my mind I still call ’em gunboats, likely thanks to the Assault Gunboat from TIE Fighter — and they had to be taken out.
These gunships went right for our ship, so I had to take ’em out fast. Unlike the bombers — which went down with one shot from the MAG Cannon — these took three of four shots, and all the while they were assailing me with flak, so it was a tricky business. Eventually, CASSI put us in touch with the station’s manager, Miranda Bell.
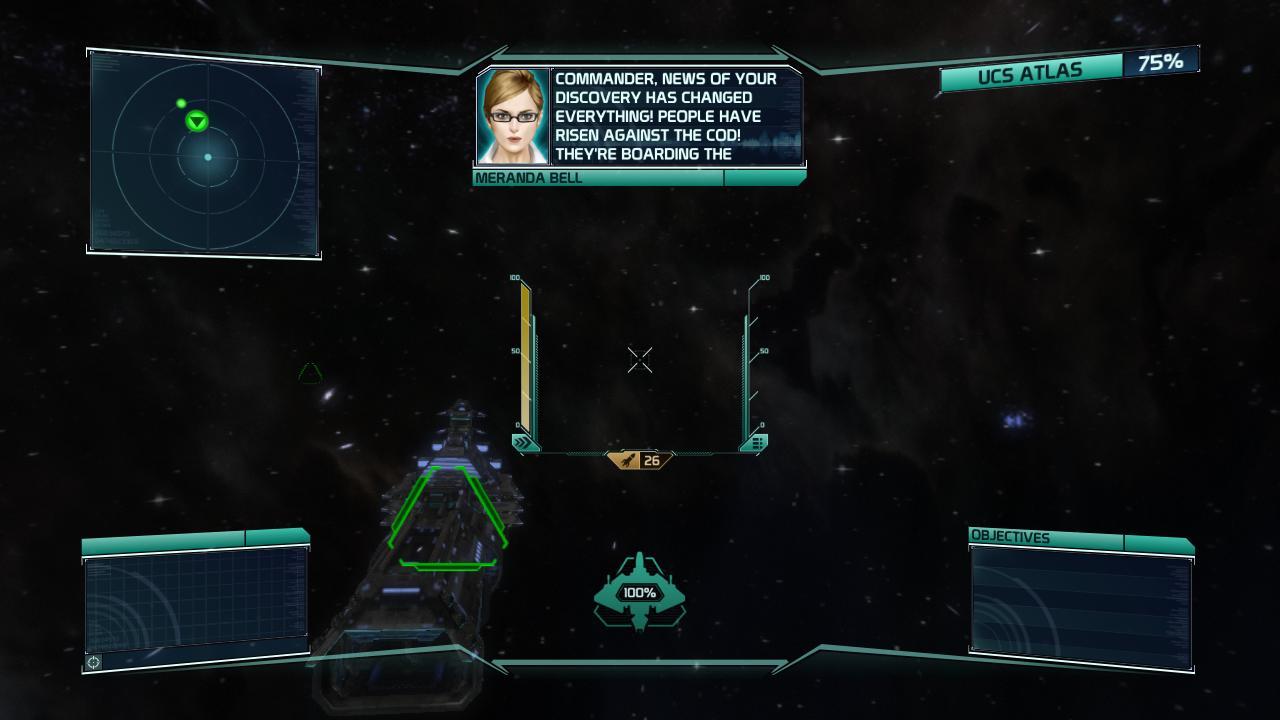
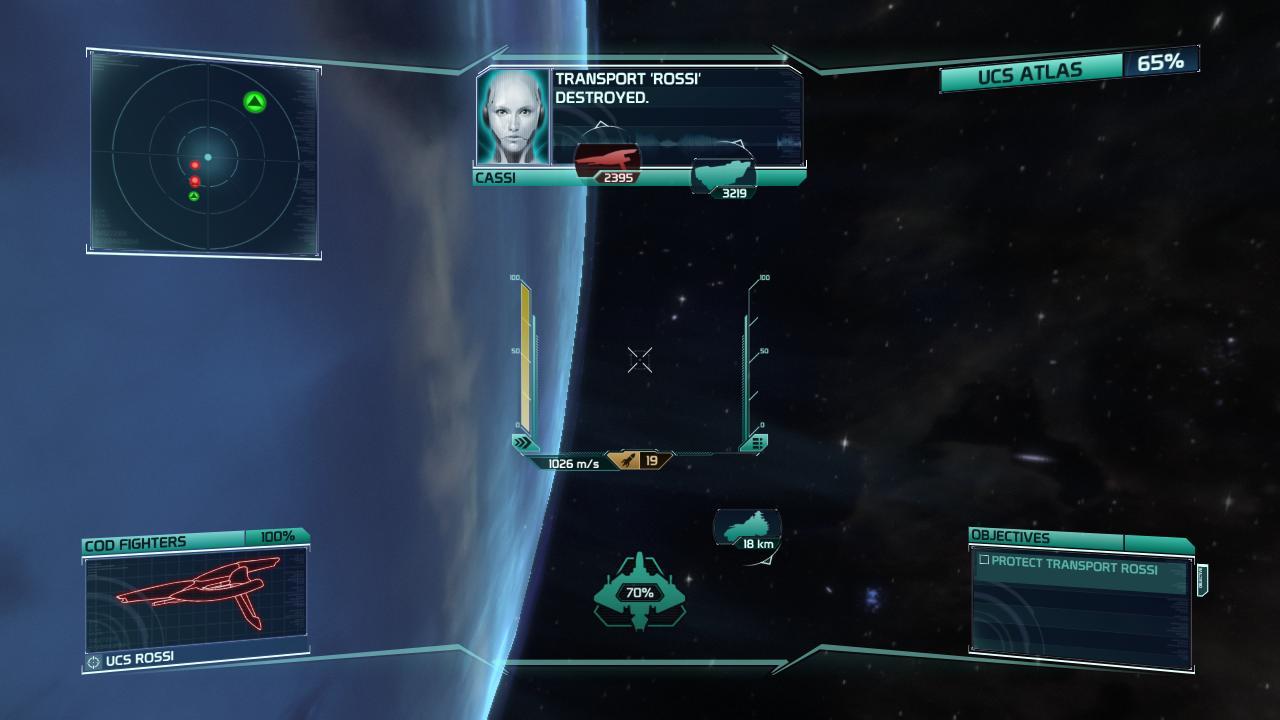
She was happy to see us, as news of our discovery — of a new planet to live on, you’ll recall — “changed everything”. She and hers were ready to tuck tail and head to their new home, and since she was cute and I was feeling all heroic, I passed on the jump coordinates so Hestia could launch transports. Just as the first transport was launching, a wave of COD fighters appeared to take ’em down, and sadly I did lose one.
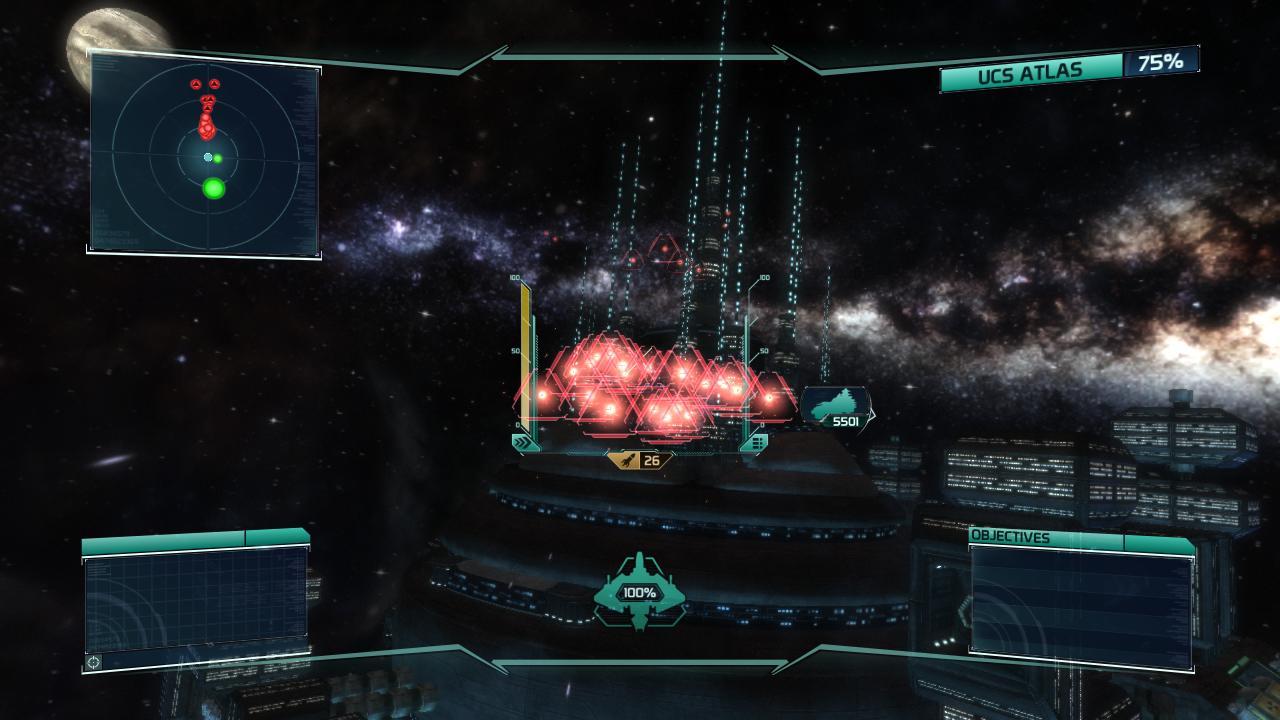
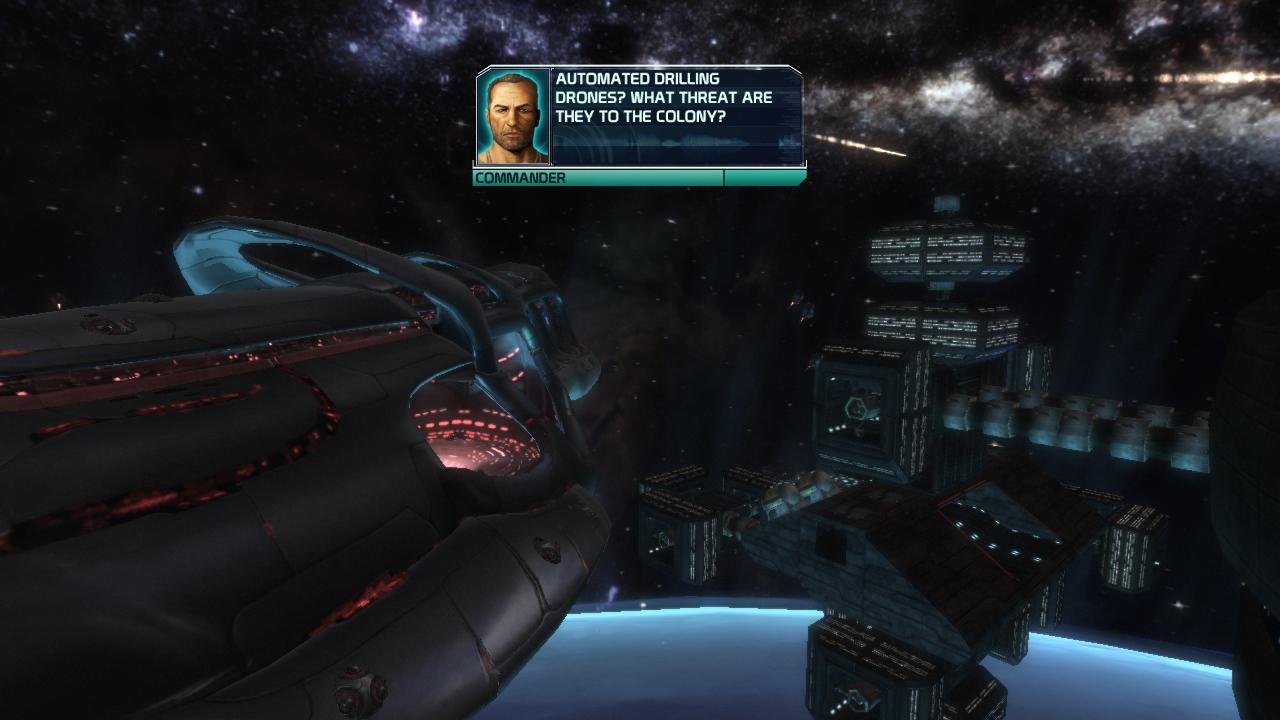
Thankfully I’m able to save a couple more when the god damned Dawn Hammer shows up and begins launching automated drilling drones. My character thinks nothing of it, but Capt. Holland says that the COD has modified them to drill through hulls! CRAP! The first wave goes right for the Hestia station. I try to knock ’em out but there are so dang many, and again, the oversimplicity of the targeting system I think got in the way here.
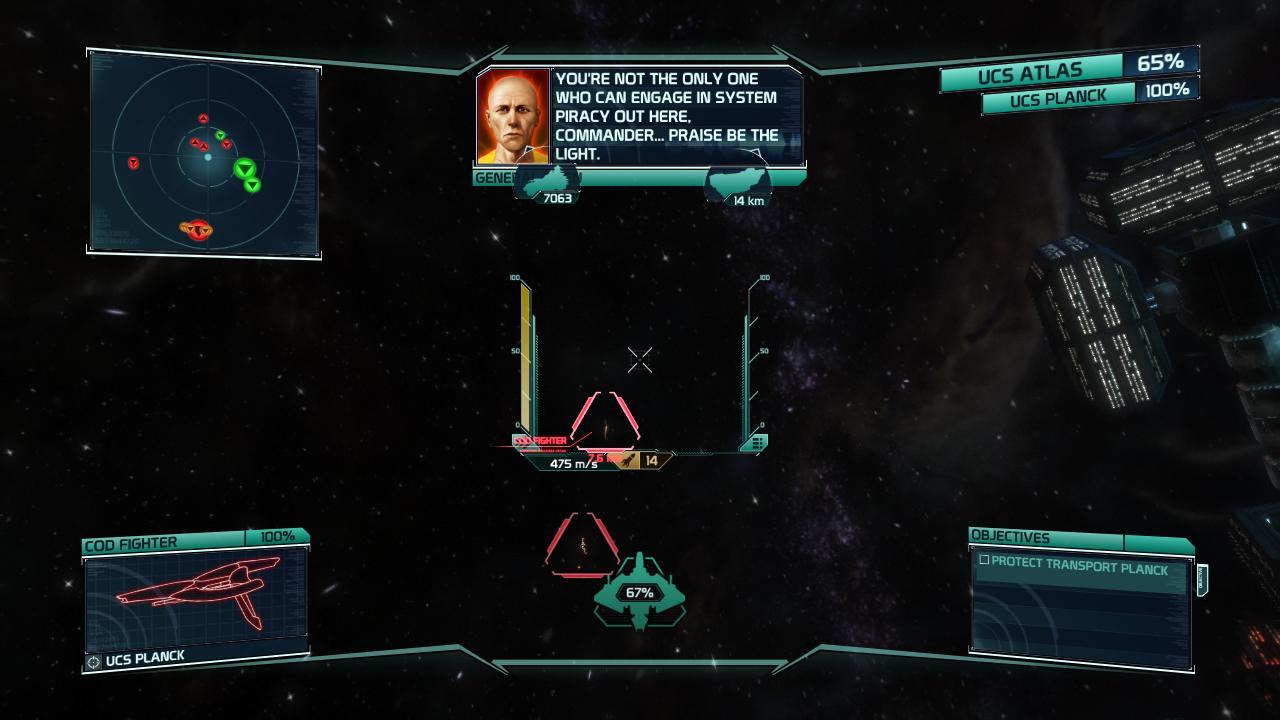
Eventually we ran into an even bigger problem. It seems we’re not the only ones going around hacking our enemies, as somehow the Dawn Hammer hacked into the transports, disabling their engines. This added the extra complication of hacking the transports to get them going while fending off drones and fighters. The soup was really thick at this point.
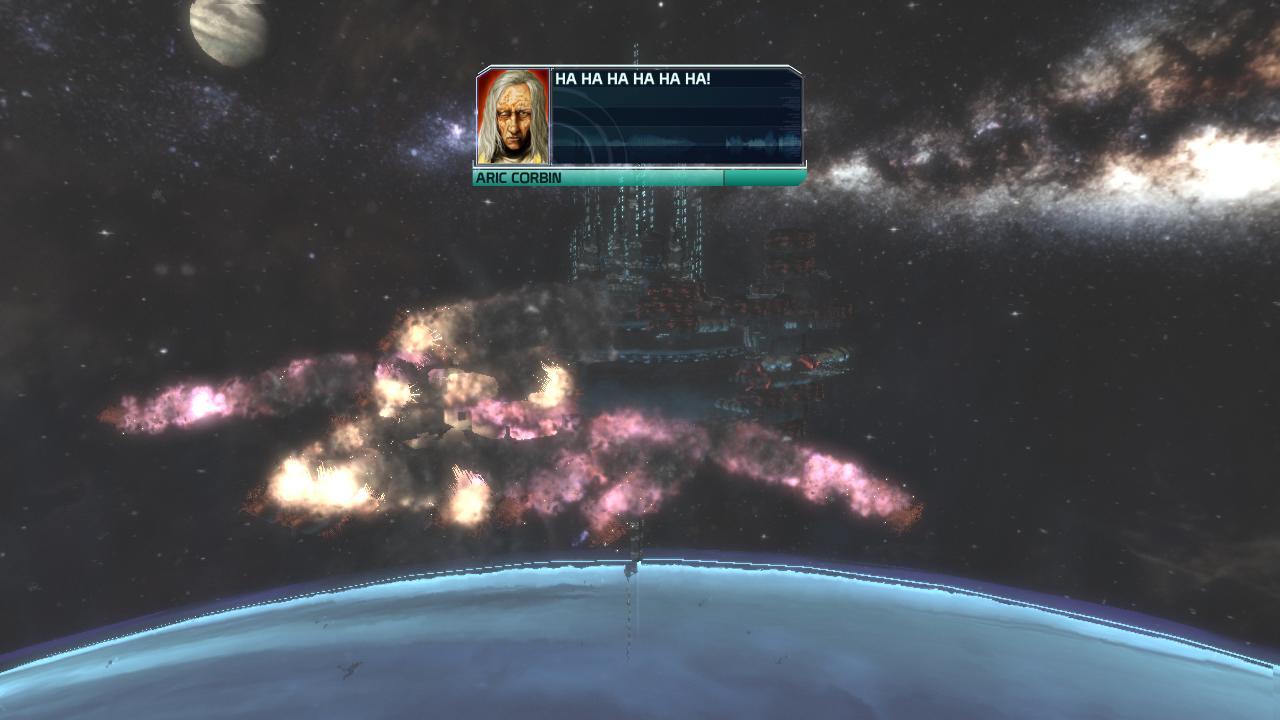
Eventually the transports were saved, but not in time for the Dawn Hammer to basically blow up the station after he unsuccessfully destroyed the Atlas. The bastard just laughed and laughed as people perished.
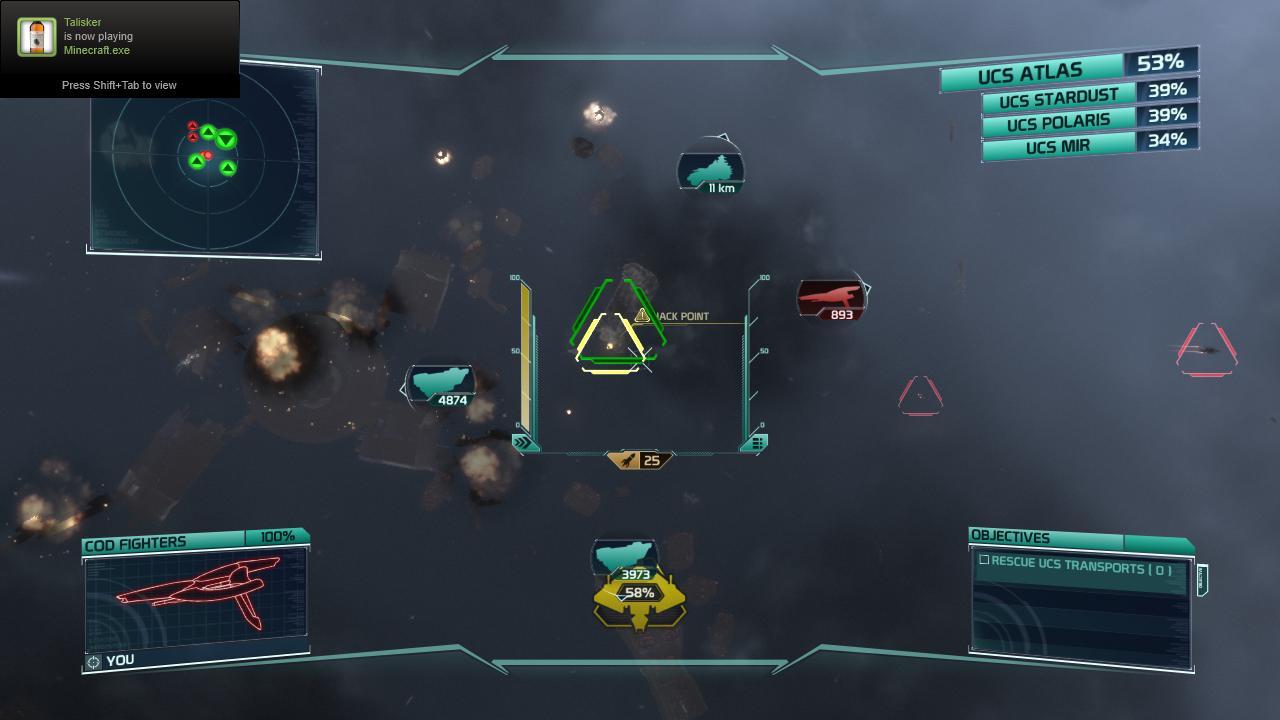
Thankfully some survivors, including Miranda Bell, were able to escape onto some transports — at least I think so, stuff happens fast in this game, too fast to take reliable notes without pausing ;) — but that leads us to our next mission. For this one, I once again gained the rank of rookie — dang, again? — but was able to gain a medal for myself. Wheee!
We found ourselves falling through the atmosphere of Titan as the transports and the Atlas found themselves caught in the planet’s gravity. I had to fly around and hack into the transports in order to get their engines going so they could jump to safety. As I was doing this, the COD arrived of course, but I stuck to my main goal of hacking the transports.
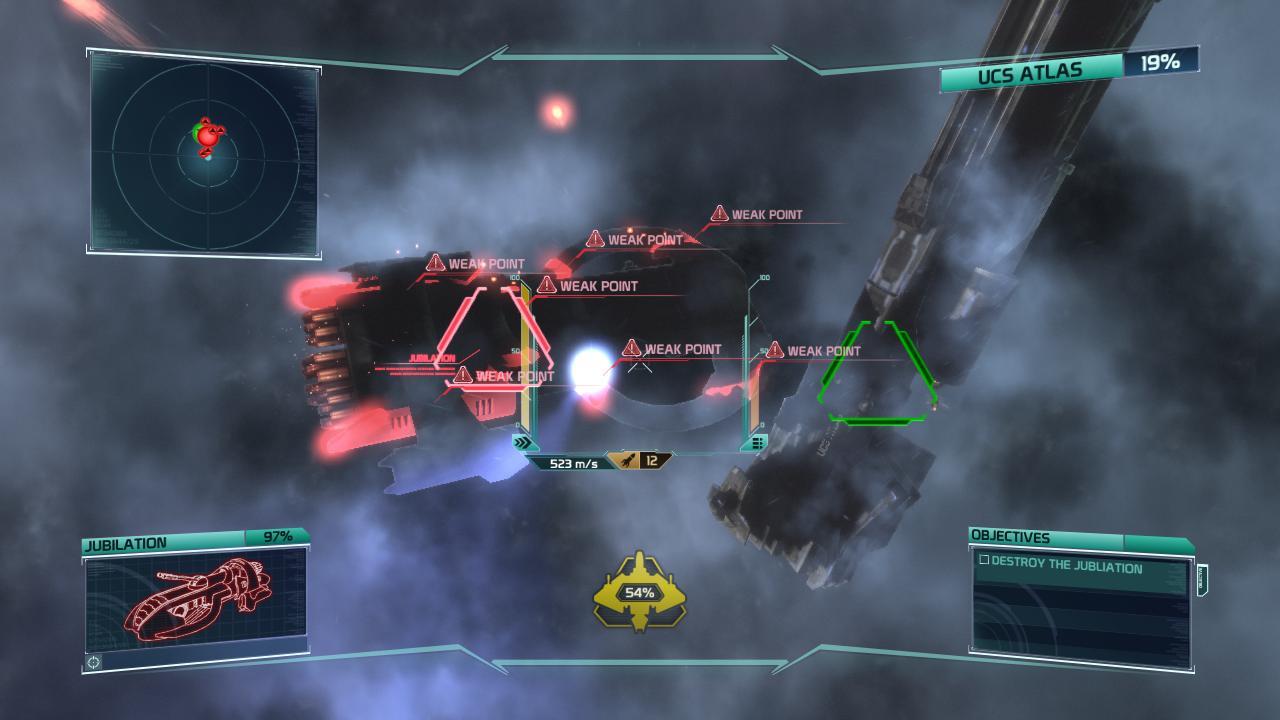
As I’m helping the transports, the damned Dawn Hammer launches more damned drilling drones at the damned Atlas. I stop all of ’em, but some of ’em get on the hull and do a point of damage before I take ’em down. After this, my fighter is hurting pretty badly, so I dock inside the Atlas to make repairs. After I launched and take care of more drones, a new frigate, the humorously entitled Jubilation, arrives…on a collision course with the Atlas!!
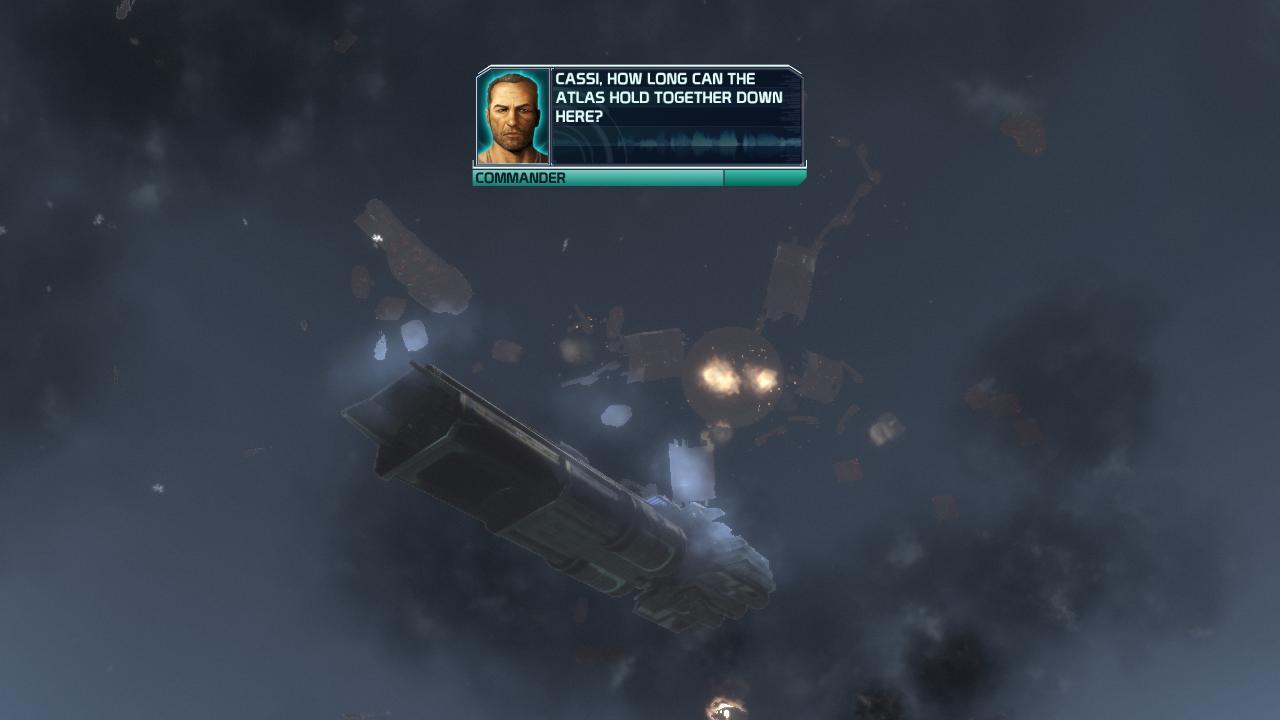
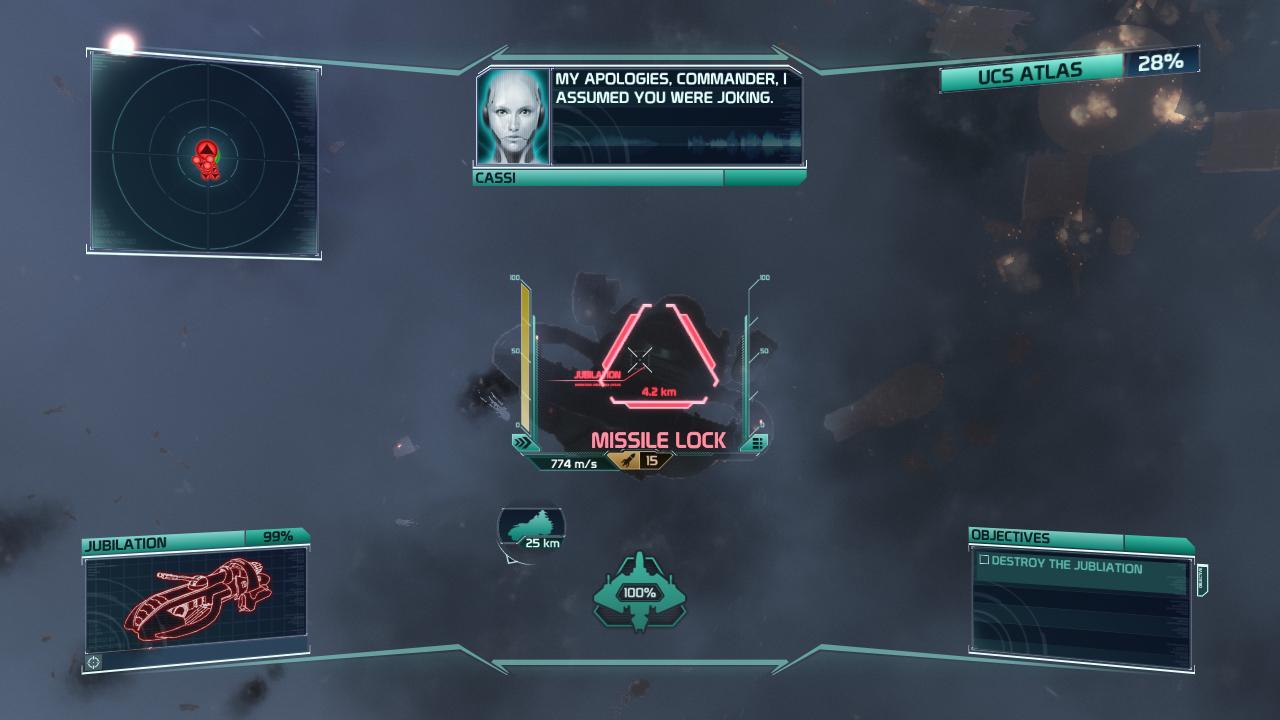
We tell CASSI to jump, but she can’t because the engines aren’t running. Capt. Hammond asks if the engines actually froze on the Atlas. After a pause before answering the question, CASSI apologizes because she thought Capt. Hammond was joking, I kid you not.
I therefore turn to hack the hell out of the Jubilation, and manage to hack its blueprints and find its weak spots, but it was tough targeting the MAG Cannon on the weak spots. I was able to make some good hits onto the Jubilation, but sadly, not in time. The frigate rammed into the side of the Atlas, and I could only keep trying to hit the Jubilation as Atlas’ health deteriorated until it was at zero.
And with that, I lost the mission. While I wasn’t overtly frustrated again, these missions did underline that maybe SOL: Exodus might be too simple in some ways. Many times I wished for one key to target my nearest enemy, rather than having to cycle through them, and I also would have LOVED to have been able to tell my wingman, Capt. Hammond, to defend certain targets like the Atlas or various transports.
That being said, I still had a great time with this particular session of SOL: Exodus. Join us next time wherein I again try to complete this mission and take on whatever lies ahead! I hope you enjoyed reading this installment, and thank you for reading. Also, you can view all of the screenshots used for this session in the gallery below. Also be sure to read the final entry in this series. Enjoy!
Still Nothing Else Like It Hey friends, welcome to the show! Sorry it's a day…
Not Enough Games have Space Monsters, I Feel... Hey friends, welcome to the show!! This…
This Thing Scares Me Hello my friends. Sorry this is a day late, yesterday totally…
Bulwark is Such a Pretty Game Hey friends, welcome to this week's show! Sorry the…
This Game is So Good... Hey friends, welcome to this week's show! This week, Spaz,…
I Guess Everyone Needs a Break Now and Then... Hey friends, welcome to this week's…